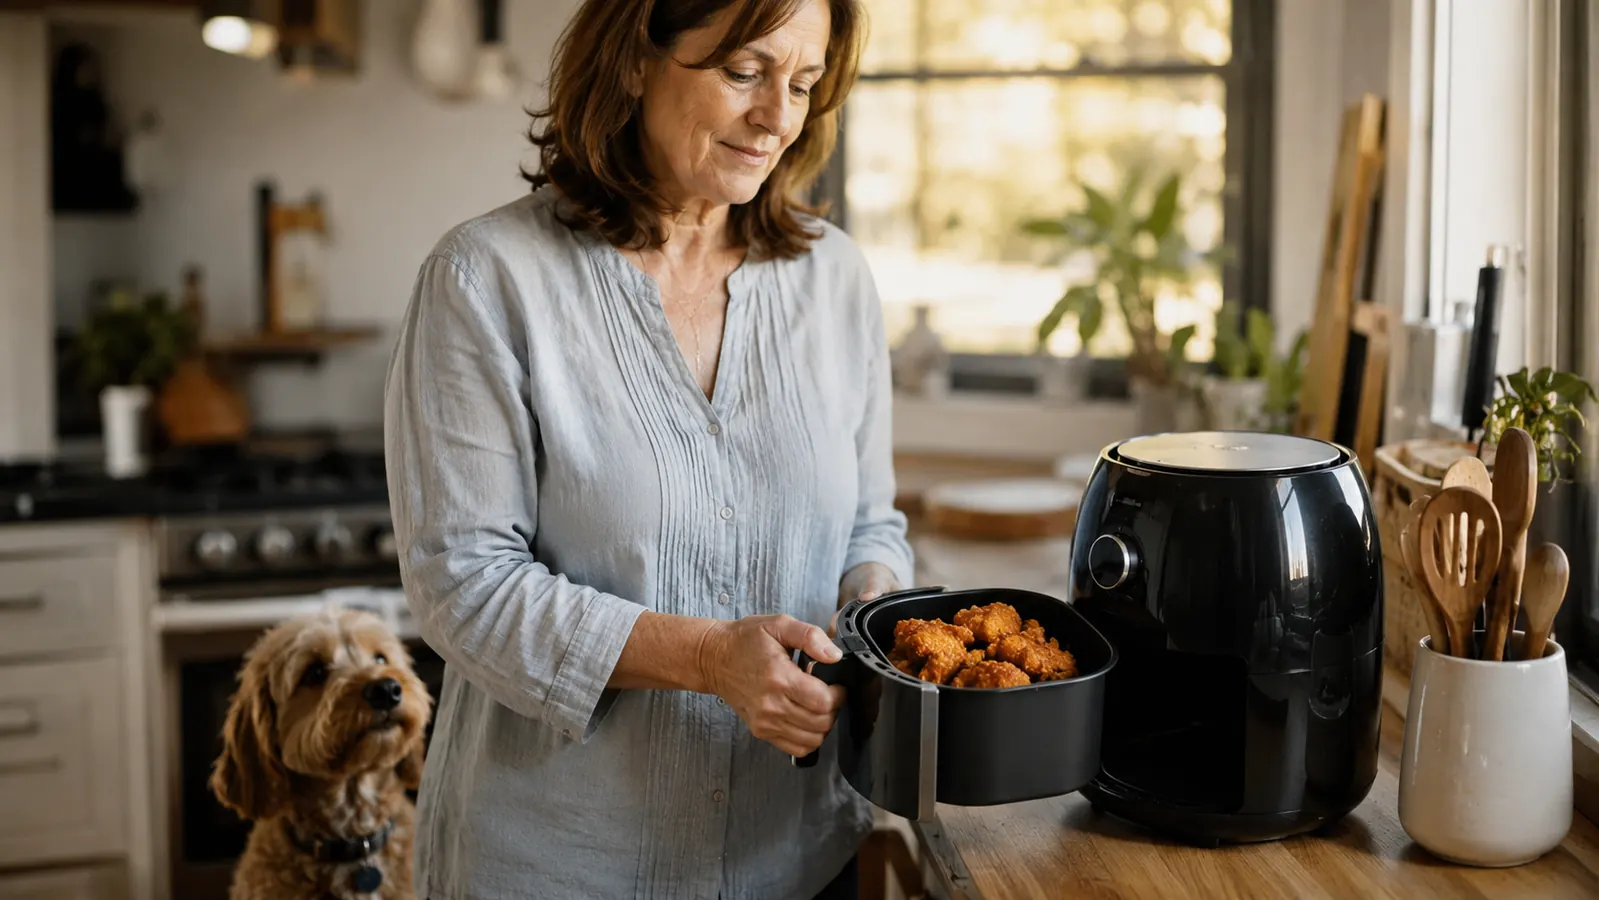
The rule I grew up with was simple and it never once helped me on a busy night. Frozen chicken had to thaw in the fridge overnight, and if I forgot to pull it out in the morning, dinner was either ruined or planned around whatever else I had. My Ninja air fryer quietly ended that whole ritual. It cooks frozen chicken straight out of the freezer in under half an hour, no thawing, no waiting, and the outside comes out crisp instead of steamed.
This is the method I have landed on after months of trial, error, and a few dinners I will not tell the dogs about. It works on the Ninja Air Fryer Pro XL, the 6.5-quart that does seven things depending on the day. But the steps below are not fancy and they translate to just about any air fryer worth the counter space. What you need is patience with the preheat, a light hand with the oil, and the discipline to check the temperature instead of trusting a timer alone.
Let me warn you at the start so nobody reads this expecting a miracle. Air frying frozen chicken gives you crisp, juicy pieces for weeknights, but it is not the same as a deep-fried bird, and some cuts hold up better than others. Boneless breasts and thighs, drumsticks, and nuggets all do beautifully. Whole bone-in pieces need a couple of extra minutes and a closer eye. Thawed chicken cooks a touch faster and seasons deeper, so when I plan ahead, I still thaw. When I forget, and I forget plenty, the Ninja saves the night.
The air fryer that finally made frozen chicken a weeknight answer
Frozen chicken goes in the basket, crisp dinner comes out in under half an hour, no thawing and no pan of splattering oil. That single trade is why mine earns its spot on the counter instead of the cabinet.
Amazon Check Today's Price on Amazon →Step 1: Heat the basket first, and do not skip it
Set the Ninja to air fry at 400 degrees and let it run empty for about four or five minutes before any frozen chicken goes in. This preheat is the single biggest reason people tell me their air fryer 'doesn't crisp.' A cold basket spends the first minutes just heating the air, so the frozen meat thaws and sweats on a warm surface instead of browning immediately. That wet start is what gives you pale, rubbery skin.
Five extra minutes feels like busywork, I know. But it is the difference between a crust and a kind of sad steamed pajama. Once the basket is genuinely hot and you slide the frozen pieces in, they hit hot air the moment they enter, the outside sears and dries, and the inside has time to come up to temperature without turning the whole thing to leather. Do this every time, even for a small batch, even for nuggets. It is the cheapest fix in the whole method.
I keep a small dish towel on the counter for the preheat note. If I get distracted and the basket has been running a long time, I drop the temperature a touch rather than leave dinner to a scorching start. One good habit, worth repeating: hot basket, steady 400, then chicken. Everything downstream gets easier.
Step 2: Keep the chicken frozen, and pat it very dry anyway
Do not thaw anything for this method. The whole point is that frozen pieces go straight from the freezer bag into the hot basket. Cold and even is your friend here, because pieces that start at the same temperature finish at the same temperature, and that evenness is what keeps the thin edges from burning while the centers lag. If a few pieces are frosty but already half-thawed from sitting at the front of the freezer, that is fine, just arrange them so they are not stacked.
Here is the counterintuitive part that took me a while to trust. Even though the chicken is frozen, I still pat the outsides dry with a paper towel before they go in. Frozen pieces pick up a thin icy glaze in the bag, and that glaze is pure water, and water on the surface steams instead of sears. A quick dry rub with a towel costs you ten seconds and buys you a far crisper skin. If your pieces are stuck together in a clump, break them apart first so every side meets the hot air.
One more honesty note. Frozen chicken holds more water inside, so it plans to give back some moisture as it thaws in the heat. You are not doing anything wrong when the basket collects a little liquid. That is expected. What you can control is the outside, and keeping the surface dry is exactly how you protect the crisp. Let the inside be a little forgiving; the middle will come to safety if you give it the time and the temperature check.
Step 3: Season before you cook, and go light on the oil
Season frozen chicken the same way you would thawed, which means before it goes in, not halfway through. A light brush of oil, then my plain mix of garlic powder, paprika, a little salt, and black pepper. I toss the frozen pieces in a bowl with a kiss of oil and the seasonings so they are coated on every side. The oil helps the seasoning stick and gives the hot air something to brown against, but a light hand is the rule. More oil does not mean more crisp, it means more drips and more smoke.
The trap I hit early was under-seasoning because I was sure the ice would wash the spice off. It does not. Some seasoning lands on the surface and clings, some gets carried into the crust as the exterior dries, and the result is more seasoned than I expected. Start slightly lighter than you think and taste at the end. You can always add salt at the table, but you cannot un-add a salt pack baked into a crust.
If you want a proper crust, remember that breading behaves differently on frozen meat. A dry seasoned rub or a light dusting of flour browns and clings well. A thick wet batter slides off frozen chicken before it can set, so on a forget-the-thaw night I keep it simple and dry. That dry-tossed, lightly-oiled seasoning method is the honest sweet spot for the freezer cut, and it is exactly what the recipe below is built around.
Step 4: Cook in a single layer, and flip once halfway through
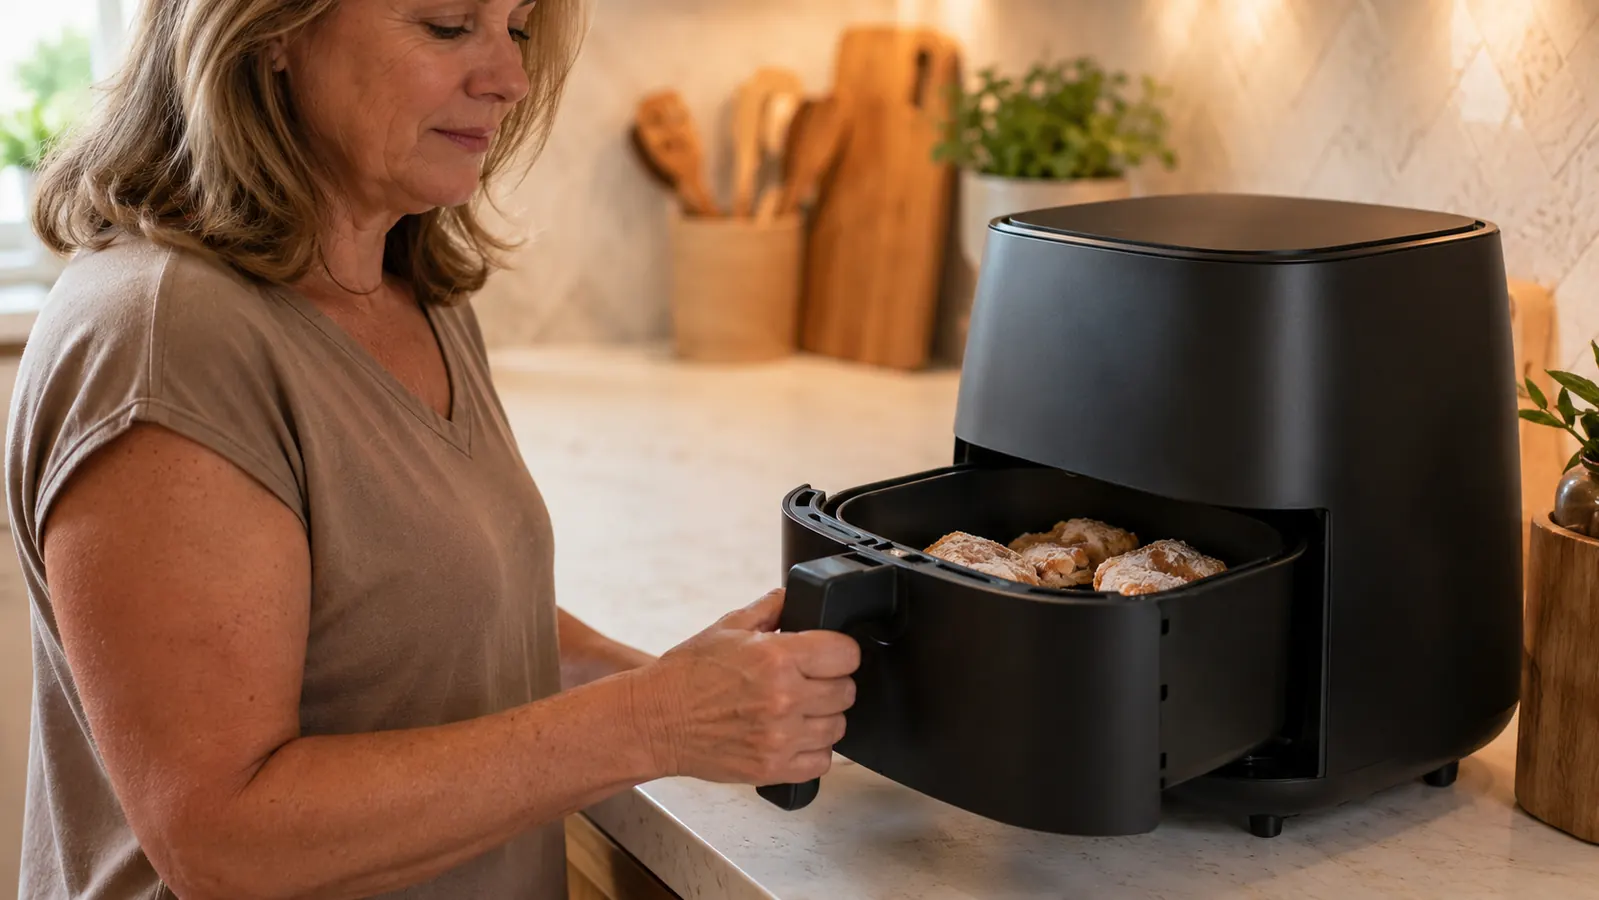
Lay the seasoned pieces in the basket in one even layer with a little space between them. Cramming the basket to fit more is the fastest way to steam instead of crisp, because crowded pieces trap moisture and never get air on all sides. With a 6.5-quart basket I cook a reasonable family batch in a single layer and save a second pass for what is left rather than pile everything in at once. A small second batch crisps better than one great big soggy first one.
Cook at 400 degrees for about 12 minutes, then pull the basket out, flip each piece, and slide it back in for another 8 to 14 minutes depending on the cut. Boneless pieces run shorter, drumsticks and bone-in thighs longer. That one flip matters more than you expect, because the side resting against the wire rack would otherwise stay pale and soft. Give both sides their turn at the hot air and the whole piece comes out even.
Do not stand there watching it the whole time. That is the gift of the air fryer. Set the first timer, do the flip, set the second, and go finish the salad or check your reading. The Ninja holds its temperature steadily, so unlike a hot oven on a timer that resets, you can trust the second run. Just stay near enough to hear it, and keep the dogs out from underfoot when the basket comes out hot.
Step 5: Rest, then let the thermometer, not the timer, call it
When the second timer goes, pull a piece and check the thickest part with an instant-read thermometer. Chicken is safely done at 165 degrees, and that number is the only verdict I trust. Frozen meat can look golden on the outside while the inside lags, exactly because the exterior sears before the center thaws and cooks. Two extra minutes in the basket beats the risk of serving undercooked chicken, and the thermometer settles it in one poke.
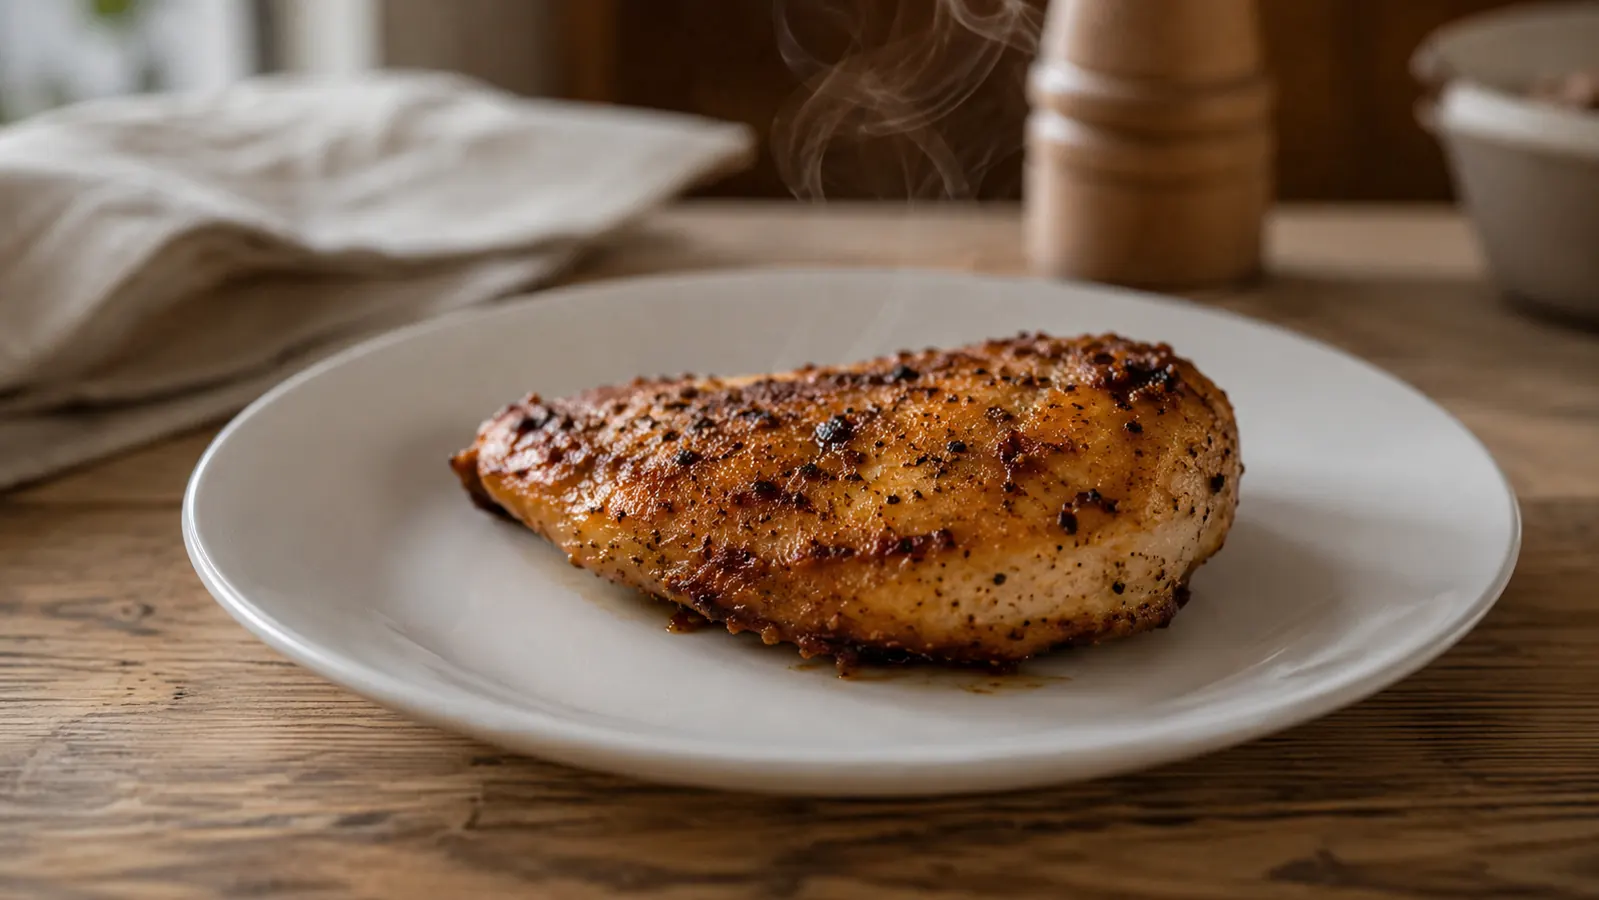
Give the chicken five quiet minutes on a plate before you cut into it. Resting is not optional, no matter how hungry the dogs under the table are. Those minutes let the juices settle back into the meat instead of pooling on the cutting board, which is the difference between juicy and dry. If a piece comes out slightly overdone on the thin end, that is the nature of frozen chicken and your seasoning covers a lot. Rest it, check it, then slice into it and eat well.
What Else Helps
A digital instant-read thermometer is the single best companion to this whole method, worth far more than another kitchen gadget. Frozen chicken's only real variable is whether the inside is done, and neither color nor a timer tells you reliably. One thermometer gives you the 165 number in seconds and ends the guessing for good. If you do not own one, they are cheap, they live in a drawer, and they save every early-bird cut of meat you will ever cook.
Keep the basket clean and it repays you. A warm, soapy wash and a wipe after use, or a quick soak if any seasoning baked on, keeps the next batch from tasting like the last. Most modern air fryer baskets and trays are dishwasher safe, and I still hand wash most of mine to keep the crisper plate from warping. And a pair of kitchen tongs beats any spatula for the flip, because it reaches into the basket without grazing the hot sides.
Where Frozen Chicken Usually Goes Wrong, Honestly
Pale, soft skin is almost always the cold-start problem, so go back and preheat faithfully, and pat the frozen pieces dry. Overcrowding is the second classic: fewer pieces, more air, crisper food. If chicken comes out dry, you either read the internal temperature too late or rested it shorter than five minutes, and both are easy fixes with the thermometer and a little patience. None of these are the air fryer's fault. The machine just cooks what you hand it, so most 'the Ninja doesn't crisp' stories really resolve to a cold basket and a full one.
The one thing I will not pretend is a non-issue is whole bone-in pieces. They take a touch longer and you want the thermometer right up against the bone, since the meat beside it runs the slowest. If you are in a hurry and the outside is browning fast, drop the heat to 375 for the last stretch rather than run the risk of a scorched skin over a half-done center. Slow and steady at the end is how the middle catches up without burning the crust.
The Time It Really Takes, and Where the Savings Land
From remembering dinner at 5:30 to setting it on the table, the whole thing is under half an hour on a forget-the-thaw night. Five minutes of preheat, twelve minutes for the first cook, a quick flip, another ten to fourteen, then a five-minute rest passes while I finish the sides. Compare that to thawing overnight, or to a full oven preheating to 400 with hot oil filling the kitchen. The air fryer is not faster than a great deep fryer on the crisp front, but it is faster than every other honest route to fried chicken for dinner, and there is no pot of oil to deal with.
What this method buys a busy kitchen is freedom from planning. I no longer panic when I forget to pull chicken in the morning because the Ninja wrote the thaw out of the equation. It earns its counter space not on any single night, but on all the nights it saves, and that is exactly the argument for a small appliance that actually pays rent. No hype, just chicken I can finally cook from memory on the nights my memory fails.
A hot basket, a dry surface, one layer, and a single flip is the whole discipline, and the thermometer, not the timer, is the only one who gets to call dinner done.
Your freezer stopped being the enemy the night this came home
A Ninja Air Fryer Pro XL preheats a hot basket, crisps a dry single layer, and turns frozen chicken into a weeknight dinner in under half an hour. It is the appliance I reach for on the nights I forgot to thaw, which is more nights than I like to admit.
Amazon Check Today's Price on Amazon →