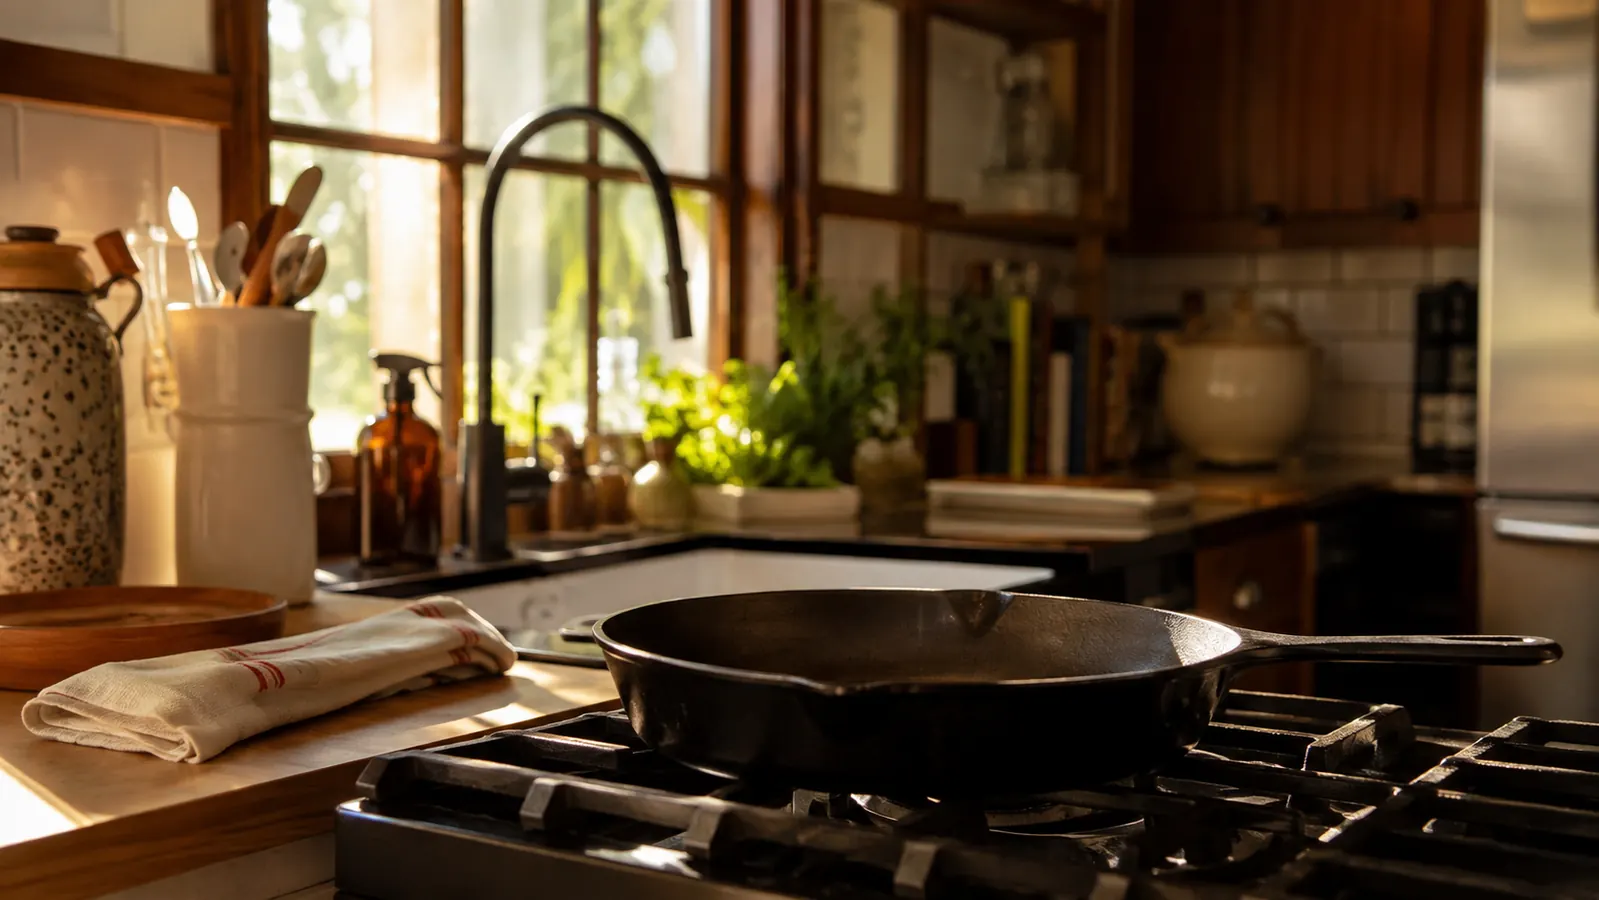
I bought my Lodge 10.25-inch skillet at a hardware store register about eleven years ago, mostly because my grandmother's cast iron went to my aunt and I wanted one of my own that could last the same way hers did. I am telling you that up front because cast iron care advice reads like a lab manual a lot of the time, and the truth is much plainer than that. This pan has outlived four nonstick skillets in my kitchen. It has seared more steaks, fried more eggs, and cut more cornbread than I can count, and the seasoning on it right now is better than the day I brought it home. If you just got one, or you own one that has started to cook like sandpaper, every part of keeping it happy comes down to five ordinary steps and about fifteen minutes a month. A Lodge pan is built to be used every day, and it shows it on the stove, which is why I keep coming back to it after all these years.
Here is the part nobody warns you about, and it is why so many people quietly give up and switch back to nonstick. The factory pre-seasoning on these pans is thin, so the first few times you cook, food sticks and you are certain you have ruined it. You have not. A cast iron pan is not born nonstick. It earns that surface across cooking sessions, each oiled meal laying down a thin layer of polymerized seasoning that is the real secret to the whole thing. Once you understand that the pan simply keeps what you cook in it, the care stops being mysterious and becomes a habit. So let us start at the beginning, in the order that made mine behave, and spend the next few minutes making a cheap pan last the rest of your cooking life.
The cheap, honest pan worth this bit of care
At today's price, this 10.25-inch pre-seasoned Lodge skillet is one of the lowest-cost tools in a working kitchen, and the five steps below are all it needs to stay nonstick for decades. I have owned the same Lodge for eleven years, and I would not trade it for any of the pricier iron I have handled in other people's kitchens.
Amazon Check Today's Price on Amazon →Step 1: Give It a First Real Season in a 450-Degree Oven
The Lodge ships pre-seasoned, so you can technically cook in it straight out of the box and plenty of people do. I would run it through one home seasoning anyway, because the factory layer is thin and a home coat doubles as insurance for those first sticky meals. Start by washing the pan with warm water and a soft brush, no soap yet, drying it completely, then rubbing the entire surface, inside and out, handle and all, with a very thin coat of neutral oil. The secret word is thin. You want a sheen across the metal, never a puddle. Neutral oils like canola, grapeseed, or vegetable all work; they polymerize cleanly at high heat.
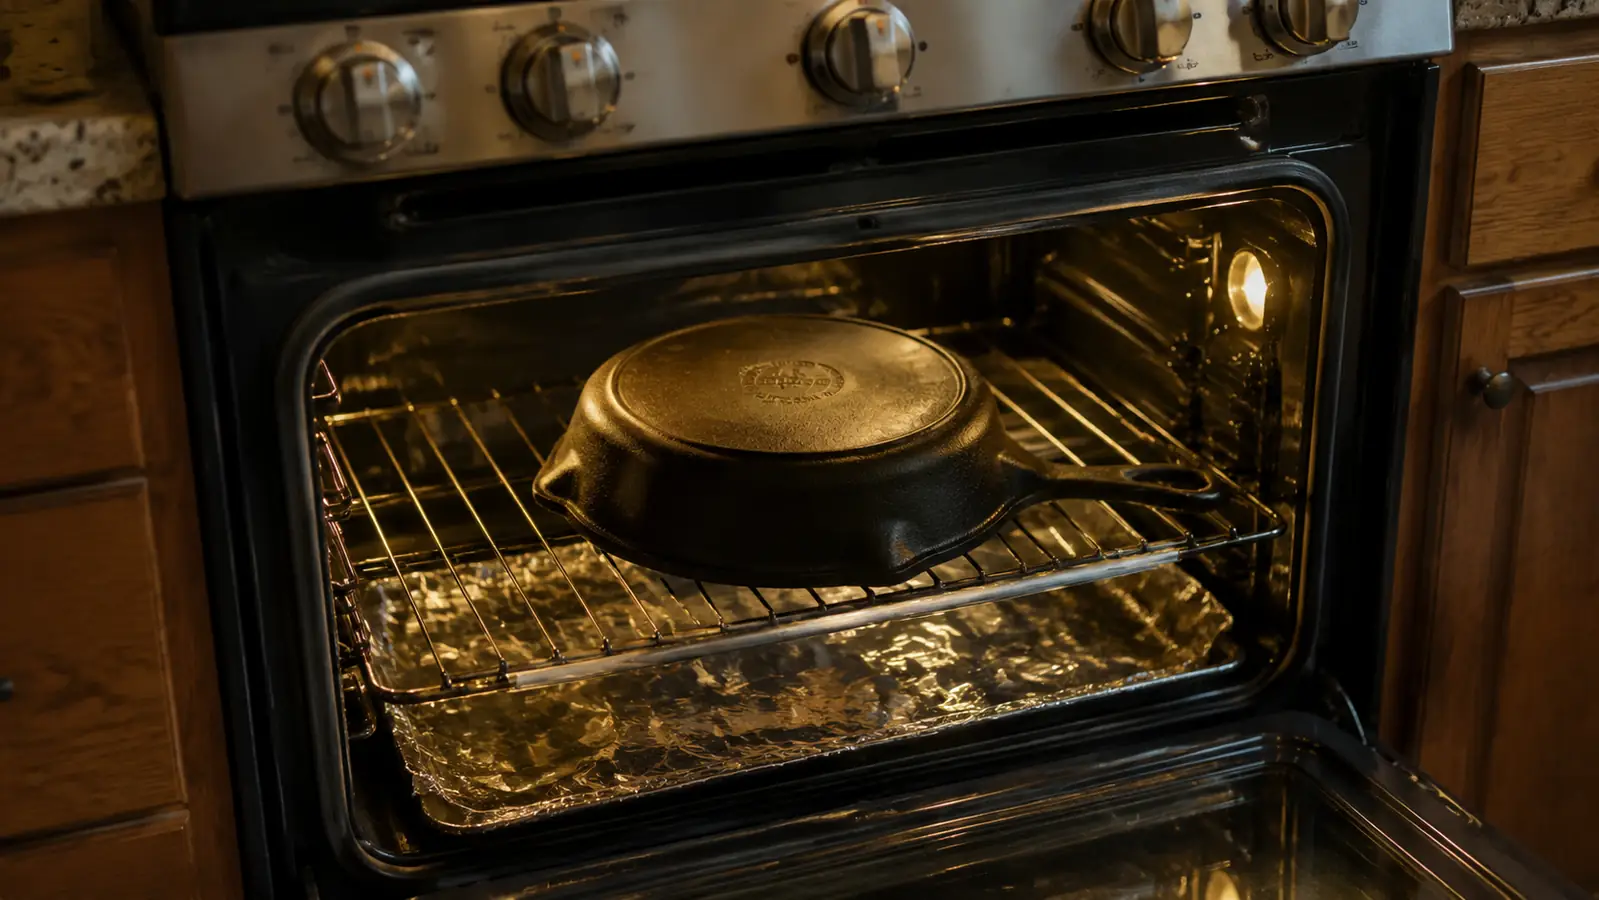
Set the pan upside down on the middle rack of a cold oven, with a sheet of foil on the rack below it to catch any oil drips, and turn the oven to 450 degrees Fahrenheit. Let it bake for a full hour. When the hour is up, turn the oven off and leave the pan inside until it cools completely. What you are doing is heating the oil until it bonds into that hard, glassy layer, and the heat does all the actual work while you go fold laundry or read a chapter.
Let me save you the mistake I made the first time: 450 degrees matters far more than you think. Too low and the oil stays soft and sticky, which makes your first meals worse, not better. Too high and it smokes up the whole kitchen and sets off half the smoke alarms in the house. One pan, one hour, one open window, and you are done. You will repeat this oven pass maybe twice a year, usually when the pan throws a tantrum after being neglected, and it gets a little easier every time.
Step 2: Cook With Oil and Let the Meals Season It for You
Here is the cheerful news. Once that first seasoning is down, most of your care is just cooking well, and the pan seasons itself every single time you use it. Every time you heat this skillet with a little oil and put food in it, you are adding another microscopic layer of seasoning without a single thought. Bacon, fried eggs with butter, hash browns, cornbread, crispy-skinned chicken, they all do the work for you. That is exactly why my grandmother's pan was as good as she said it was. She never babied the thing. She just used it, daily, for decades.
Plan for a slightly sticky first week or two, and know it passes. The pan will not cook like a brand new nonstick early on, and that is completely normal, it is still building its surface. Give it a handful of bacon sessions, a couple of cornbread bakes, one pan of seared chicken thighs, and it comes around. My practical advice is to let the skillet handle the dinners where you are not in a hurry for the first couple of weeks, which lets you slow down and get a feel for how much heat it holds.
Step 3: Wash It Warm, Never Soak It, and Skip the Soap
This is the step where most people clean out a cast iron pan and are sure they broke it. The rules are short. Wash the pan while it is still warm but not piping hot, under running water, with a stiff brush or a flat scraper, and no soap. You do not need soap on a well-seasoned pan, and skipping it is what protects that polymerized layer you worked for. For stuck-on bits, sprinkle some coarse kosher salt into the pan and rub it around with a paper towel. The salt gives you a gentle abrasive that scrubs the food loose without touching the seasoning underneath.
And the three never statements, because they are the ones that actually ruin pans. Never soak it. Never put it in the dishwasher. Never stack it where it can sit wet. Cast iron's one true weakness is rust, and rust comes from a pan left wet. If you follow just this one step, you are already ahead of most people who give up and go back to nonstick.
One honest note on soap, since it is the most argued-about thing in cast iron. A tiny drop of dish soap on a very well-seasoned pan will not hurt it, because modern detergents do not eat seasoning the way old-fashioned lye soap did. But you do not need it, and the no-soap habit protects the pan when it is at its most vulnerable, which is early on before the surface is fully built. I have not run soap over this Lodge in a decade, and it has never once been actually dirty.
Step 4: Dry It Completely and Wipe On a Whisper of Oil
Washing is only half the job, and this is the half people skip. The moment you finish washing, set the pan back on the stove over low heat and let every drop of water steam off until it is bone dry, then let it cool just enough to handle without burning yourself. A cast iron pan that is fully dry cannot rust, and rust is the only thing that truthfully harms it. This one habit, drying on the stove, is what separates a pan that lasts from a pan that gets thrown out.
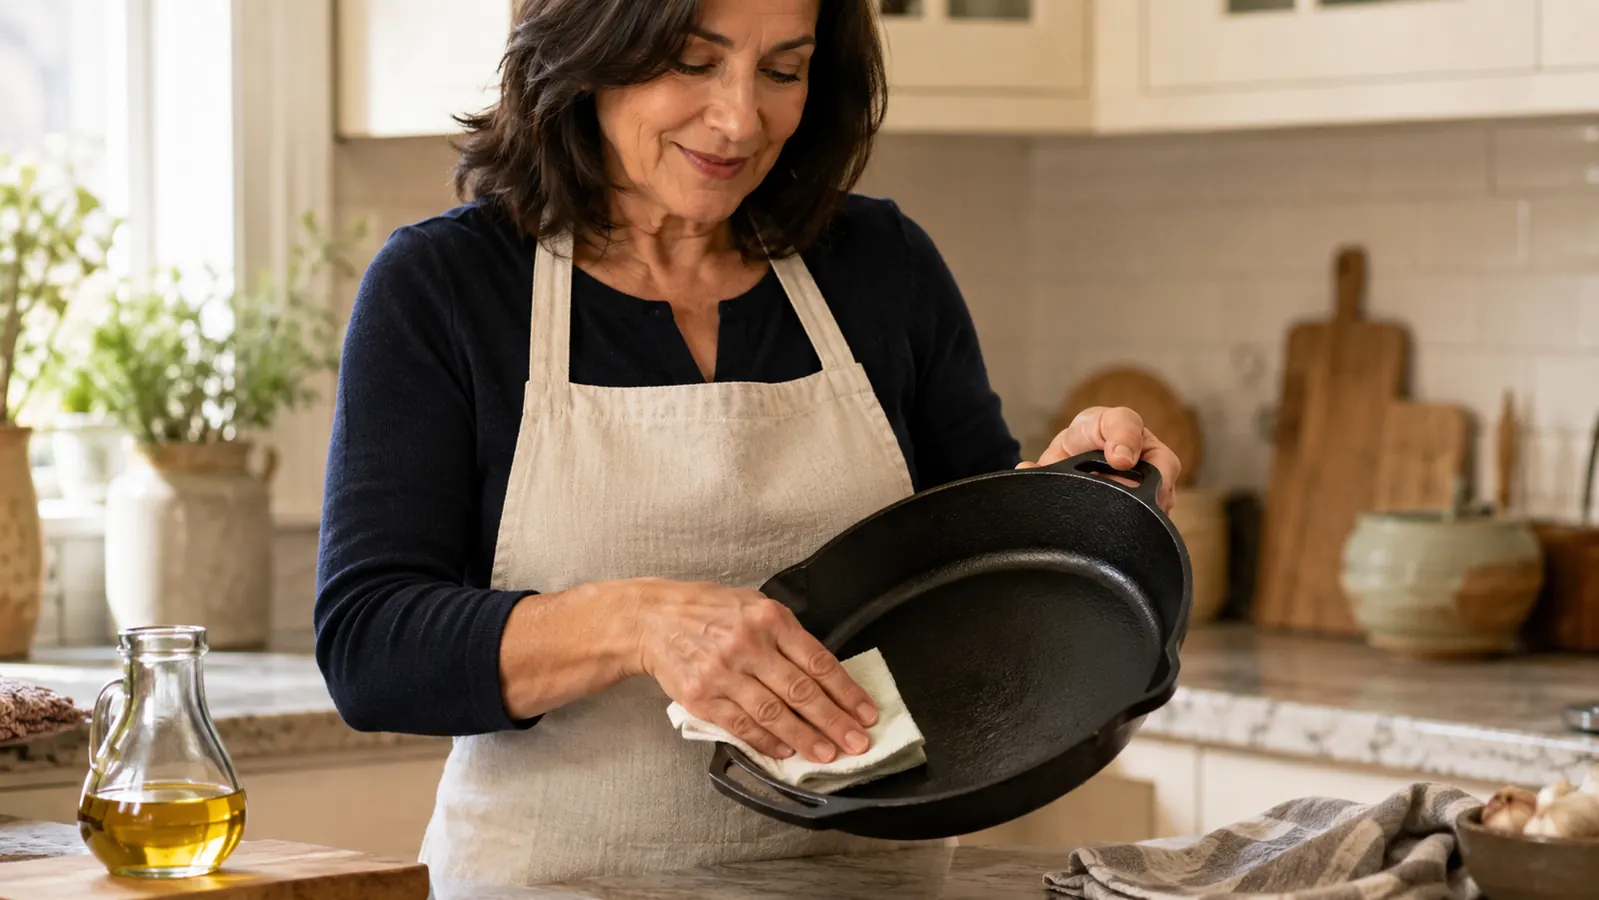
When it is dry and warm, rub in a very thin coat of oil, barely a teaspoon, and wipe it out again with a paper towel until it looks dry on the surface. That last faint sheen is everything. It is what keeps water beads from forming off, and it keeps the surface slick for the next meal. The whole routine takes about forty seconds. Get into that habit every single time you clean the pan, and it will never rust, never stick, and you will not even think about it after a month. It just becomes the last forty seconds of dinner cleanup.
Step 5: Rescue It the Day It Sticks or Shows Rust
Despite all of this, the day will come. Maybe a guest politely puts it in the sink with water to soak, or you leave it wet overnight, or you slow-cook an unusually acidic tomato sauce for six hours, which I have absolutely done. Stop panicking before you start. A sticking patch and a little rust are not death, they are the most normal thing in the world, and the fix is your old friend from Step 1 repeated.
For a sticking patch, scrub the pan clean, dry it, and reseason just that spot with the oven method at 450 degrees. For light rust, scrub the rusted area with a little oil and coarse salt until it feels smooth to the touch, wash and dry it, then give it a full reseason pass. If the pan is rusting everywhere, or you have inherited a basket case someone abandoned, do a full strip: a short vinegar soak will lift the rust, then just start the season from scratch and go on as if new.
The same pan that seemed ruined on a Tuesday is glassy and nonstick again by Saturday, fixed in one evening for less than the cost of a single replacement nonstick.
Patience is the entire skill here. The same pan that felt beyond saving on a Tuesday cooks clean and slick again by the weekend. You fix it once, you learn the feel, and the thing just keeps going, which is more than I can say for most of the cookware I have ever bought. That is the real payoff of cooking on iron. You are not throwing it away every couple of years and starting fresh, you are building a surface that gets better with every meal for the rest of your cooking life.
What Else Helps
Two small things make the rest of this easier, and neither costs much. A chainmail scrubber, the little flat rectangle of woven stainless rings, handles stuck-on food without ever touching your seasoning, and it is the only cleaning tool I reach for on stubborn nights. And keep the pan out where you actually use it, hung on a rack or resting on a heat-safe trivet beside the stove, because a pan that is easy to grab gets used every day, and a used pan is a cared-for pan. Bury it in a drawer and it rusts in the dark and gets forgotten.
Really, the best thing you can do is relax about it. Cast iron is forgiving in a way the modern kitchen has almost forgotten. It does not mind a mistake, it shrugs off a ruined recipe, and it just gets better with the next meal. You cannot say that about a nonstick pan, a ceramic-coated pan, or a scratched-over enameled set, and that is precisely why my Lodge still hangs beside my stove while the expensive stuff comes and goes.
Start seasoning tonight and cook on it for the next decade
You do not need persuading to try it, the price is friendly enough that the whole experiment costs almost nothing. A pre-seasoned Lodge skillet at today's price is the least expensive tool I still reach for every week, and the five steps above are all it needs to outlast every other pan you own. If you have been thinking about real cookware, this is a gentle, forgiving place to start, and once it is seasoned it takes care of itself.
Amazon Check Today's Price on Amazon →