

For years my bread came out the same way every time: a dome that looked fine on top and a dense, tight crumb you could nearly hurt a tooth on. I blamed the flour, then the yeast, then the weather. The truth was duller. I was kneading by hand, giving up too early some days and hammering the dough into rubber on others, and nobody had ever told me that a stand mixer could hold the whole job steady long enough for the dough to do its work.
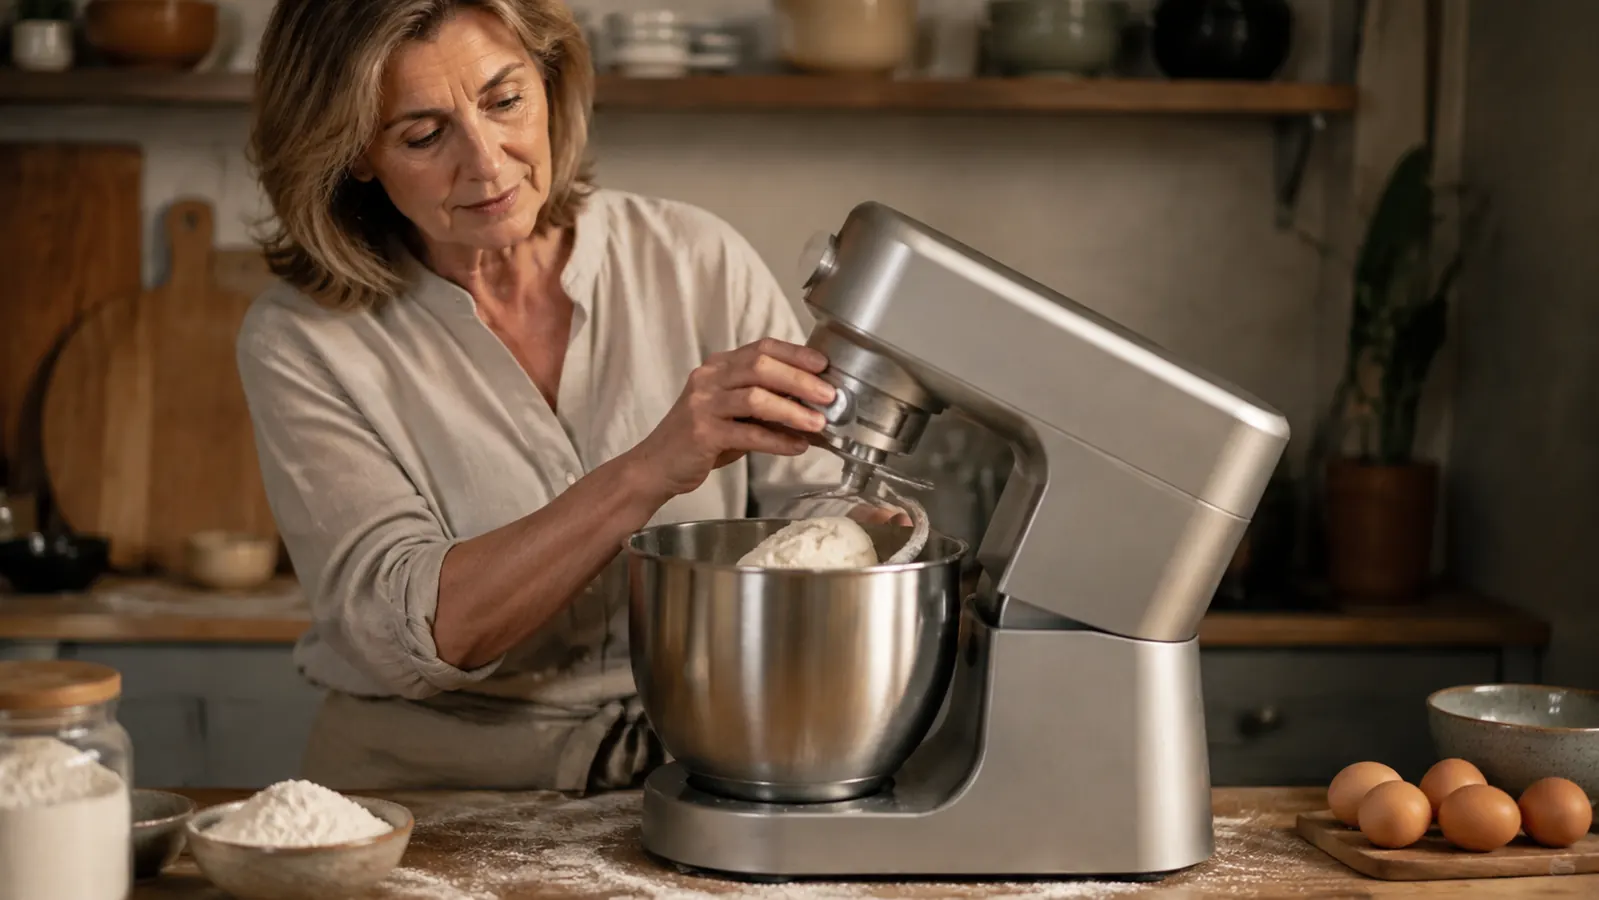
When my KitchenAid stand mixer finally moved out of the corner where I kept it for cookie batter, bread night changed more than I expected. Not because the machine is magic, it is not. Because it kneads at a steady low speed for a long time without my arm tiring, which means I stop weighing on how my shoulder feels and start watching the dough itself. That is the whole trick, and it is worth spelling out step by step because nothing about it is obvious the first time you do it.
Let me be honest about one thing up front, so you do not read this expecting a miracle. The mixer does not make the bread. You still measure carefully, you still watch the rise, you still shape it. What the mixer gives you is consistency and a free arm. It kneads the same steady way every Tuesday, and that sameness is exactly what lets you finally learn the rest of the process instead of fighting your own fatigue. If that sounds modest, it is, and that is the best thing about it.
The mixer that stopped my arm from quitting mid-loaf
A steady low-speed motor does the kneading, so you can watch the dough instead of fighting it. That is the single thing that turned my inconsistent loaves into a reliable Tuesday ritual.
Amazon Check Today's Price on Amazon →Step 1: Start with the right dough for your machine
A stand mixer kneads a wet, tacky dough far more comfortably than it kneads a stiff dry one. Think of a sandwich bread dough, roughly 65 to 68 percent hydration, not the shaggy no-knead dough you see on the internet that sticks to everything. I use a simple white or half-wheat bread recipe at about six cups of flour to two and a quarter cups of warm water. It pulls away into a soft ball and cleans the sides of the bowl after a few minutes.
I always mix the salt into the flour first. If you pour salt straight onto the yeast it can slow it down, and that old rule still holds. Stir your sugar and yeast into the warm water in the bowl, give it a few minutes to wake up, then add the flour and salt by the cup. Keep the water a little short until you have the flour in, because a too-wet dough is far easier to fix than one you have to beat back down.
A word on temperature, since it bites more people than any other single factor. The water should feel warm on the inside of your wrist, say 105 to 110 degrees, not hot and definitely not boiling. Too-hot water kills the yeast and you get a brick. Too-cold water and it just takes forever to rise. That warm-wrist check is the entire rule and it never lets you down.
Step 2: Fit the dough hook, never the paddle
On the KitchenAid, the dough hook is the spiral hook, not the flat paddle. This is where a surprising number of people go wrong without knowing it. The paddle cuts through the dough and mashes it against the side; the hook grabs a ball and rolls it against the bowl, which is what actually builds gluten. Fit the hook, set the bowl in place, and lower the head all the way until it locks. If a recipe says 'knead,' you want the hook.
I will add a small confession so you trust the rest of this. The first three times I tried bread in a mixer I reached for the paddle, because it was already out from lunch cookies and I did not want to wash another piece. The dough climbed the beaters, turned gray from overmixing, and stuck to everything. When I finally swapped in the hook and ran the same dough at the same speed, it became a different thing entirely. It is not a preference, it is the right tool, and the two minutes of cleaning the hook are worth it.
One more caution while the hook is new to you: do not walk off and leave it running. The tilting head lets you lift the bowl up to the dough in stages, and if you set it running on speed four to 'hurry it,' the dough climbs the hook and you fight it back down with a spoon. Slow and present is the whole discipline, and it pays off faster than you think.
Step 3: Knead for the right length, and no longer
With a KitchenAid stand mixer, most sandwich doughs are genuinely kneaded in about eight minutes at speed two. Start a quiet timer the moment the dough forms a ball. Do not judge by the clock alone, because flours vary, but use it as the handle. At six minutes the dough will still look a little rough, at seven it smooths, at eight it goes glossy and elastic. That sheen, a smooth, slightly shiny ball, is your signal that the gluten is almost there.
Here is the honest trap: going past that point does not make better bread. It makes tough bread. Extra kneading tightens and dries the dough, and the loaf gets a crust that tears instead of a crumb that opens. More machine is not better. The last thing I want you to do is leave the mixer running 'for good measure' while you check your phone, because that single habit is the difference between bread you are proud of and bread that needs jam to survive.
Step 4: Do the windowpane test, the only test that matters
Pull a small piece of dough, about the size of a walnut, and stretch it between your fingers. If it stretches into a thin, translucent sheet without tearing, it is done. If it tears before you get it thin, knead another minute on speed two and test again. A medium-sized but strong gluten network, one that holds its shape yet still stretches, is exactly right for a home loaf. This ninety-second test beats any timer, because it reads the dough itself.
I cannot overstate how much this changed my baking. For years I yanked the dough out the second it looked 'done' by feel, or left it too long because the recipe said a time I could not meet. The windowpane removes the guessing. When it stretches thin, turn the mixer off, scrape the dough out, and move straight to the rise. A brief touch of oil on the bowl keeps it from sticking while it proofs.
Step 5: Proof, shape, and bake for that first real loaf
Set the dough in a lightly oiled bowl, cover it with a damp cloth or plastic wrap, and let it rise somewhere warm until it doubles, usually about an hour or ninety minutes. Faith in the rise is easy to lose if you peek too much, so pick a spot and leave it alone. Warm water in the dough and a warm kitchen do most of this work for you. If your kitchen is cool, a turned-off oven with the light on makes a dependable warm spot.
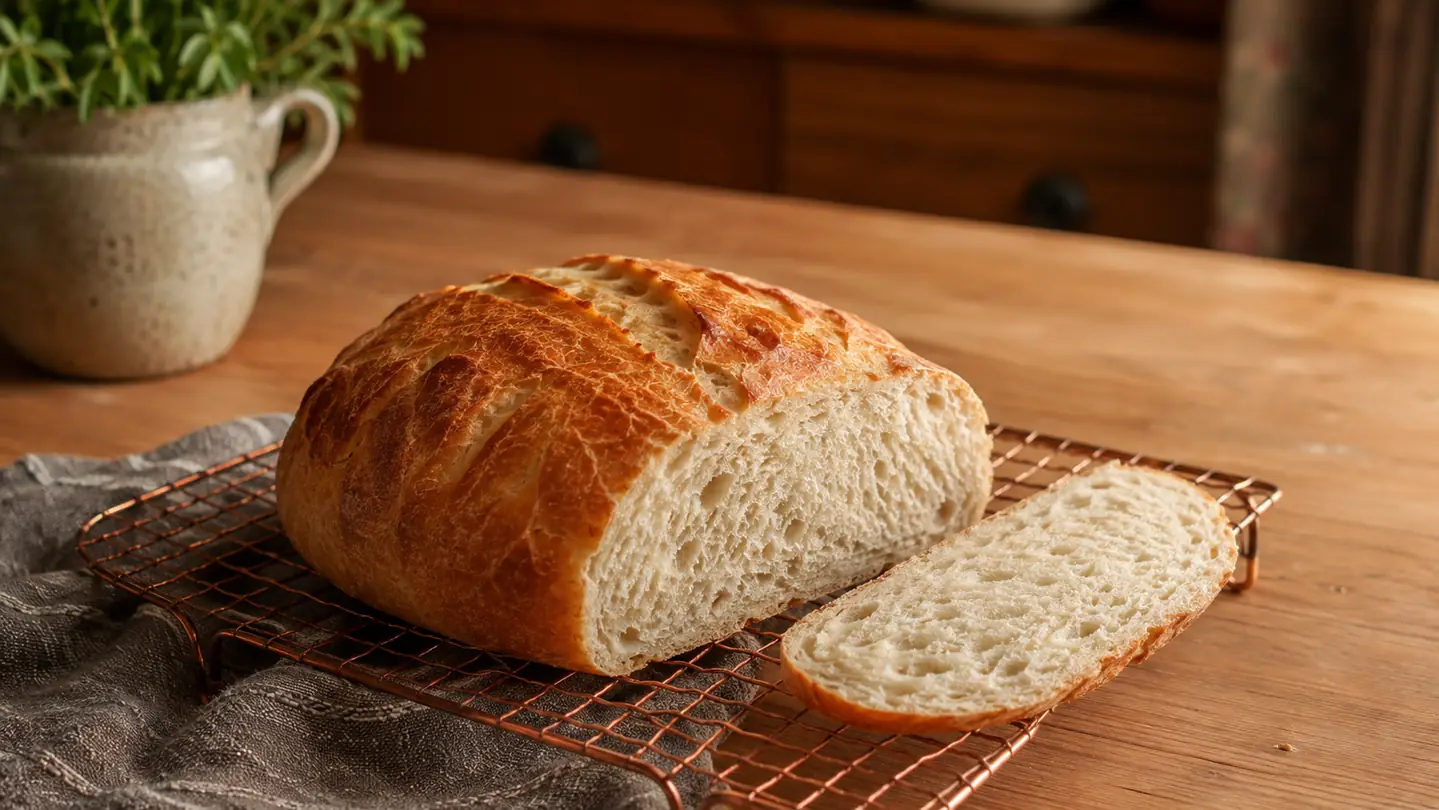
Punch it down gently, turn it out, and shape it into a loaf without overworking it. Put it in a greased loaf pan, let it rise again until it is puffed about an inch over the rim, then bake in a preheated oven at 375 degrees until the top is deep golden and the bottom sounds hollow when you tap it, usually 35 to 40 minutes. Let it cool fully before slicing. I know the smell is tempting, but cutting warm bread collapses that lovely open crumb you just built.
What Else Helps
A digital scale is the single cheapest upgrade to breadmaking, far more useful than any gadget. Measuring flour by the cup packs it tighter on some days than others, which is exactly how your hydration wanders without you noticing. Weighing your flour means the dough comes out the same every time, and the whole method above is far more forgiving when the starting point is steady.
Keep the dough hook clean with warm soapy water right after you use it, before the dough dries on. The mixing bowl and hook are dishwasher safe, but a quick hand wash keeps the dough from welding onto the spiral. And if the mixer head ever feels heavy to lower, a drop or two of the food-safe oil lubricant on the hinge keeps it gliding, which matters more as the years pile up.
When Bread Goes Wrong, It Is Usually One of Three Things
If your loaf is dense and heavy no matter what you do, the usual culprit is too little proofing time, not too little kneading. A dough that has not doubled before the second rise simply cannot make an open crumb. Give it the full hour and a half and trust the clock over your impatience. If the crust is baking before the center is done, your oven runs hotter than the dial says, and a cheap oven thermometer settles that argument in one loaf.
If the dough feels like sticky muck and will not hold a ball even after eight minutes on speed two, it is too hydrated for your flour. Add a tablespoon of flour at a time and let it work in before you add more. This happens to everyone, and it is a fix, not a failure. The key across all three is that none of it is the mixer's fault. The machine just kneads what you give it, so the trouble is almost always worth a patient second look at the dough.
The Time It Really Takes, Honestly
From pulling out the mixer to pulling bread from the oven, plan on close to three hours, but almost none of it is hands-on. Mixing and kneading take maybe twenty minutes total. Then you wait an hour to ninety minutes for the first rise, and you are not doing anything but leaving it alone. A second rise after shaping is another thirty to forty-five minutes. The oven does the last forty. The whole thing fits nicely around a morning of laundry or reading, which is exactly why bread night stuck with me.
What this means for a busy kitchen is that the mixer pays for its space not in speed but in freedom. You start the dough, walk away through the rise, come back and shape it, and the machine has quietly handled the two parts that used to make me swear: the long kneading and the fear of stopping too soon. Now the mixer does both at a steady two, and I get my evening back.
Kneading in a steady low-speed mixer for eight minutes instead of by hand is not magic, it just stops my shoulder from quitting before the dough is ready.
Your next loaf starts here
A KitchenAid stand mixer kneads the bread while you watch the dough instead of wrestling it. That one shift is the difference between dense Sunday loaves and the ones that actually get eaten by Tuesday.
Amazon Check Today's Price on Amazon →